
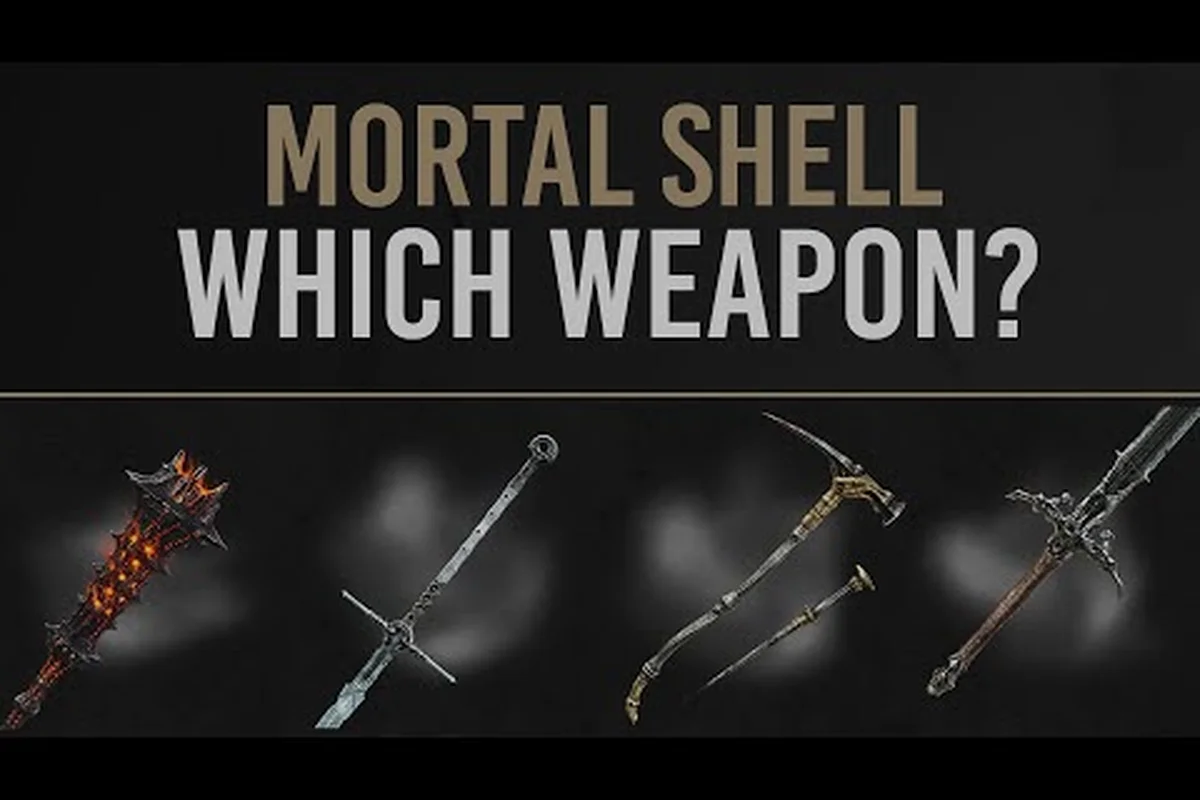
Choosing the right Shell in Mortal Shell II is the single most important decision you will make before stepping into the Unfound Path. With eight playable Shells confirmed by Cold Symmetry, each offering distinct class mechanics and ability sets, your early choices shape everything from posture management to survivability. These Mortal Shell II shell tips break down exactly how each warrior plays, which weapons complement their strengths, and the common mistakes that send new players back to the spawning shrine. Whether you favor aggressive melee combat, shadow-dancing stealth, or soaking damage as an immovable tank, this guide gives you the practical framework to master every Shell instead of just surviving with one.
Understanding Shell Classes and Their Core Roles
Mortal Shell II replaces the traditional stamina bar with the Posture system, a mechanic that rewards aggressive pressure and precise timing rather than endurance management. According to the official Steam listing, combat is unrestricted by stamina, which means your Shell choice determines how you exploit enemy posture breaks and critical strikes. Each of the eight Shells falls into one of three broad categories: melee-focused warriors, stealth-oriented acolytes, and durability-focused tanks. Understanding these roles before you commit upgrade resources is essential, because Tarstones spent on the wrong Shell can set your progression back significantly.
The community testing during the open beta, as reported by players on the r/MortalShell subreddit, revealed that Shell abilities also deal posture damage alongside your weapon attacks. This means your ability rotation is not just supplemental damage — it is a core part of the stagger loop. The best approach is to treat your Shell's unique skill as a posture-shredding tool that sets up Riposte Takedowns, rather than a panic button for emergencies.
Here is a quick breakdown of how the three primary roles differ in practice:
-
Melee Shells excel at sustained pressure and benefit most from weapons with high posture damage values, allowing them to break enemy guards faster than other classes.
-
Stealth Shells rely on positioning and shadow-enhanced abilities to control engagement distance, punishing enemies that lose sight of them with bonus damage.
-
Tank Shells prioritize survivability and Harden efficiency, trading raw damage output for the ability to absorb heavy hits while maintaining offensive pressure.
Because the Posture system rewards consistent aggression, the melee shell archetype tends to be the most forgiving for newcomers, while stealth and tank builds require deeper knowledge of enemy attack patterns. If you are still deciding between classes, the shell upgrade guide covers how to allocate Tarstones effectively across all three archetypes without wasting resources.
Tiel Build Guide: Maximizing Shadow Abilities
Tiel returns in Mortal Shell II with shadow-enhanced dodges that make him the premier stealth option among the playable roster. His kit revolves around evasion-based positioning and punishing enemies that commit to attacks you have already sidestepped. According to the Fextralife beta preview, Tiel's shadow mechanics allow him to maintain mobility while building posture damage through well-timed dodges, making him the fastest Shell in the game at closing distance.
Core Tiel Abilities and Synergy
The Mortal Shell II Tiel abilities focus on mobility and stealth multipliers rather than raw defensive stats. His signature dodge leaves a shadow afterimage that briefly confuses enemies, giving you a small window to reposition or land a free attack. This makes him exceptionally strong against single-target enemies but requires careful management when facing groups, since the afterimage only affects one threat at a time.
For a proper Mortal Shell II Tiel build, prioritize abilities that extend the shadow afterimage duration and increase damage dealt from behind. The stealth multiplier stacks with weapon upgrades, meaning a fully upgraded dagger or short blade can output damage comparable to heavier weapons when you attack from the correct angle. Community reports suggest that pairing Tiel with fast weapons that have high critical chance produces the most consistent results, since his kit rewards frequent small hits over slow heavy swings.
| Tiel Ability | Effect | Recommended Priority |
|---|---|---|
| Shadow Afterimage | Leaves a decoy on dodge, confusing one enemy | First upgrade |
| Backstab Multiplier | Increases damage when attacking from behind | Second upgrade |
| Evasion Window | Extends invincibility frames on dodge | Third upgrade |
| Shadow Step | Short-range teleport that breaks enemy lock-on | Situational |
The key to playing Tiel effectively is understanding that his survivability comes from never being hit, not from absorbing damage. This makes him a high-risk, high-reward choice that demands strong knowledge of enemy attack patterns. If you struggle with reading telegraphed attacks, consider practicing with a melee shell first before committing to a stealth-focused playthrough.
Weapon Recommendations for Tiel
Fast weapons with low recovery frames are the natural fit for Tiel's playstyle. The Shadow Dagger and Whisper Blade both benefit from his backstab multiplier, and their quick attack chains allow you to weave in dodges without breaking momentum. Avoid heavy weapons with Tiel, since their slow recovery negates the mobility advantage his shadow abilities provide.
Melee Shell Strategies for Aggressive Play
The Mortal Shell II melee shell archetype is built around sustained pressure and posture breaking through relentless offense. These Shells typically have higher base posture damage on their abilities and access to skills that reduce the number of hits required to stagger an enemy. If you prefer a straightforward combat style that rewards aggression over patience, this is the archetype for you.
Posture Pressure and Riposte Loops
The core loop for melee shells is simple: attack until the enemy's posture breaks, then execute a Riposte Takedown for massive damage. Because your abilities also contribute to posture damage, you should weave them into your combo strings rather than saving them for emergencies. The official preview notes that parry or block builds can also build stagger, which gives melee shells flexibility in how they approach different enemy types.
| Melee Shell Ability | Posture Damage | Best Use Case |
|---|---|---|
| Crushing Blow | High | Breaking shields and heavy armor |
| Relentless Combo | Medium | Sustained pressure on single targets |
| Guard Break | Very High | Opening up blocking enemies |
| Executioner's Mark | Low | Finishing staggered enemies faster |
The most common mistake melee players make is overcommitting to long combo strings. While the Posture system rewards aggression, every attack still has a recovery window that enemies can punish. The best approach is to attack in bursts of two to three hits, then evaluate whether to continue pressure or reset your position. This rhythm keeps your posture damage building while minimizing the risk of taking a counter-hit.
Weapon Pairing for Melee Shells
Melee shells benefit most from weapons that balance speed and posture damage. The Warhammer and Executioner's Axe are popular choices because they break posture in fewer hits, while the Longsword offers a safer middle ground with decent speed and reliable stagger buildup. If you are unsure which weapon fits your playstyle, the best upgrade order guide ranks the strongest early-game options across all Shell classes.
Tank Shell Tactics: Absorbing Damage and Controlling Space
The Mortal Shell II tank shell archetype is designed for players who prefer to absorb damage and control the flow of combat through sheer presence. These Shells have the highest base health and the most efficient Harden mechanics, allowing them to block attacks that would stagger other classes. While their damage output is lower than melee or stealth builds, their survivability makes them excellent for learning boss patterns without constant death.
Harden Efficiency and Trading
The tank shell's primary strength lies in Harden efficiency — the ability to negate incoming damage while maintaining offensive pressure. Because Harden has a cooldown, tank players must learn when to activate it rather than relying on it as a panic button. The best tank players use Harden to absorb the first hit of a combo, then punish the recovery window with their own attacks.
| Tank Shell Ability | Effect | Cooldown |
|---|---|---|
| Iron Skin | Reduces all damage taken by 40% for 5 seconds | 20 seconds |
| Unbreakable Stance | Prevents stagger from non-boss attacks | 15 seconds |
| Regenerative Plating | Restores health over time while Harden is active | 30 seconds |
| Shield Bash | Deals moderate posture damage and interrupts attacks | 12 seconds |
Tank shells also excel at controlling space in tight corridors and boss arenas. Their ability to absorb hits means they can afford to stand their ground, forcing enemies to come to them rather than chasing across the battlefield. This positional advantage is especially valuable in the more than 80 dungeons confirmed for the game, where narrow passages limit enemy movement options.
Common Tank Mistakes
The most common mistake tank players make is treating their Shell as invincible. While you can absorb more hits than other classes, the Posture system still punishes reckless play. If your posture breaks while you are tanking, you become vulnerable to the same critical strikes as any other Shell. The key is to use your survivability to create opportunities, not to ignore enemy attacks entirely.
Stealth Shell Mechanics: Positioning and Ambush Tactics
Beyond Tiel, the Mortal Shell II stealth shell archetype includes other acolytes that rely on positioning and ambush tactics to control engagements. These Shells trade raw combat stats for the ability to dictate when and where fights happen, making them exceptional for clearing dungeons efficiently and avoiding unnecessary damage.
Stealth Mechanics and Engagement Control
Stealth shells gain bonuses for attacking enemies that have not yet detected them, with damage multipliers that can reach double the base value when conditions are met. This makes positioning the most important skill for stealth players — approaching from the correct angle is often more valuable than any weapon upgrade. The community reports that stealth shells excel at clearing trash mobs without taking damage, which preserves healing resources for boss encounters.
The trade-off is that stealth shells have the lowest base health in the game, making them extremely fragile if they are caught out of position. This creates a high-risk, high-reward dynamic that rewards careful map knowledge and enemy patrol routes. If you enjoy planning your approach before engaging, the stealth archetype offers the most satisfying gameplay loop in Mortal Shell II.
Stealth Ability Combinations
Stealth abilities work best when combined in sequences rather than used individually. A typical ambush rotation involves opening with a stealth multiplier attack, following up with a crowd-control ability, then using a mobility skill to reposition before the enemy recovers. This ability chaining keeps enemies off balance and prevents them from mounting an effective counterattack.
Shell Synergy and Team Composition
While Mortal Shell II is primarily a single-player experience, the Shell system also supports strategic depth through ability synergies that extend beyond individual combat. Understanding how different Shell abilities interact with weapon upgrades and the Posture system can dramatically improve your effectiveness, even in solo play.
Cross-Shell Ability Synergies
Some Shell abilities provide benefits that scale with specific weapon types or combat styles. For example, a tank shell's damage reduction ability pairs well with weapons that have slow but powerful attacks, since you can afford to trade hits while winding up. Conversely, a stealth shell's backstab multiplier is wasted on heavy weapons that are too slow to land from behind consistently.
| Shell Archetype | Best Weapon Types | Optimal Combat Range |
|---|---|---|
| Melee | Warhammer, Longsword, Axe | Close to mid |
| Stealth | Dagger, Short Blade, Rapier | Close, hit-and-run |
| Tank | Greatsword, Mace, Shield | Close to mid |
| Hybrid | Spear, Halberd | Mid, keep-away |
The hybrid archetype deserves special mention because it combines elements of multiple classes, offering flexibility at the cost of specialization. Hybrid shells typically have balanced stats and abilities that support multiple playstyles, making them excellent choices for players who want to adapt to different situations without respeccing.
Synergy with the Posture System
Every Shell ability that deals posture damage contributes to the same stagger loop, which means you can chain abilities across different cooldowns to maintain constant pressure. The most effective rotations alternate between weapon attacks and abilities, keeping the enemy's posture bar under constant threat. This is especially important in boss fights, where posture breaks create the only reliable windows for massive damage.
For a deeper dive into how abilities interact with combat mechanics, the shell abilities combat guide breaks down every ability's posture damage values and optimal usage windows.
Frequently Asked Questions
What is the best Shell for beginners in Mortal Shell II?
The melee shell archetype is the most forgiving for newcomers because it offers balanced stats and straightforward combat mechanics. The higher posture damage on abilities makes it easier to learn the stagger loop, and the extra survivability provides more room for mistakes. Start with a melee shell to learn enemy patterns, then branch out to stealth or tank builds.
How do I unlock Tiel's shadow abilities?
Tiel's shadow abilities unlock through the Shell upgrade system using Tarstones earned from defeating enemies and exploring dungeons. Prioritize the Shadow Afterimage upgrade first, as it provides the most defensive utility. The Backstab Multiplier is the second priority, significantly increasing your damage output when you attack from behind.
Can I respec my Shell upgrades?
Yes, but the respec option is limited. You can respec once per playthrough at the Hub area, with additional respecs costing a significant amount of Tarstones. Plan your upgrades carefully, especially if you are experimenting with different Shell archetypes. The community recommends committing to one Shell per playthrough to avoid wasting resources.
Which Shell pairs best with heavy weapons?
Tank shells are the optimal pairing for heavy weapons because their damage reduction abilities let you trade hits while winding up slow attacks. The Unbreakable Stance ability prevents stagger, ensuring your heavy swings land even when enemies attack simultaneously. Melee shells with the Guard Break ability also work well, but require more careful timing.
Are stealth shells viable for boss fights?
Yes, stealth shells are viable for boss fights, but require different tactics than trash mob clearing. Bosses cannot be backstabbed, so you must rely on the shadow afterimage to create openings and the evasion window to avoid damage. The lower health pool makes this a high-risk strategy, but the mobility advantages can trivialize certain boss patterns.