
Combat
Master Mortal Shell II stamina-free combat — the posture bar, parry and riposte takedowns, Harden, stealth, tarstones and Shell abilities explained in depth.
Introduction
Combat in Mortal Shell II is defined by a single bold design decision: the stamina bar is gone. Where other soulslike games gate your attacks behind an endurance meter, Mortal Shell II lets you swing, dodge and parry freely — and replaces that constraint with the Posture system. Every enemy has a posture bar that fills when you parry or block their attacks, and when it breaks they enter a vulnerable state where you can land critical strikes and brutal riposte takedowns. This hub is a deep dive into every mechanic behind a victory: the posture bar itself, parry and block timing, over a dozen riposte takedowns, the returning Harden ability that turns your shell to stone, stealth and ranged sidearms, and the tarstones and Shell abilities that deal stagger damage. Understanding these systems is what separates players who brute-force bosses from players who dismantle them.
Combat Mechanics Reference
| Mechanic | Category | What It Does | Key Tip |
|---|---|---|---|
| Posture System | Core | Replaces stamina; shatter it to land critical strikes | Watch the enemy bar, not your own |
| Parry & Block | Defense | Builds stagger by parrying or blocking attacks | Parry rewards timing, block rewards patience |
| Riposte Takedowns | Offense | Brutal finishing executions on broken posture | Over a dozen unique finishers |
| Harden | Defense | Turn your shell to stone to block or add weight | Great for trading hits |
| Stealth & Sidearms | Utility | Skulk in shadows, deliver blows from a distance | Pull enemies one at a time |
| Tarstones & Abilities | Build | Deal stagger damage and enable Shell synergies | Combo with your Shell kit |
Combat Systems
Posture System
The bar that replaces stamina — shatter it to strike critically.
Parry & Block
The defensive tools that build posture and keep you safe.
Riposte Takedowns
Brutal finishing executions on broken posture.
Harden
Turn your shell to stone to block or add weight to swings.
Stealth & Sidearms
Skulk in shadows and deliver blows from a distance.
Tarstones & Shell Abilities
Items and abilities that deal stagger damage.
Core Mechanics
The combat loop flows through four interlocking systems. The posture bar is the heart: every successful parry, block or targeted stagger ability fills the enemy’s bar, and a full bar means a critical opening. When an enemy’s posture breaks, you can perform a riposte takedown — one of over a dozen brutal finishing executions shown in beta. Harden, returning from the original, lets you turn your shell to stone: either harden before a swing to add weight and power through trades, or harden as defense to block an incoming hit at the cost of mobility. Stealth expands your options out of direct confrontation, letting you skulk in shadows and use ranged sidearms to weaken or pull enemies. Finally, tarstones and Shell abilities add a build layer — items and skills that deal stagger damage, buff your posture pressure or enable niche strategies. Because nothing is gated by stamina, mastery is about commitment and reads rather than resource management.
Advantages
Removing the stamina bar is a genuine advantage for players who found traditional soulslike resource management frustrating. You can chain attacks, dodge and parry freely, which makes combat feel faster, more expressive and more forgiving of aggressive play. The posture system adds a clear, readable goal — you are always working toward a break, and every parry visibly moves the fight in your favor. Riposte takedowns reward that investment with cinematic, high-damage finishes. Harden gives you a defensive answer that fits the no-stamina philosophy: instead of waiting for your meter to refill, you commit to an attack and let your shell absorb the trade. The combination of stealth, sidearms and Shell abilities means there is a valid combat strategy for every temperament, from shadow-dancing assassins to unbreakable tanks.
Challenges
The combat system has a real learning curve rooted in commitment. With no stamina to stop you, the game punishes mindless button mashing harshly — every attack is a commitment, and enemies whose posture you fail to manage will counterattack and punish you. Parry timing in particular demands practice, and the riposte window after a posture break is brief, so misreading a fight can turn a near-win into a quick death. Harden, while powerful, leaves you immobile during the trade, which is dangerous against multi-hit combos and grab-style attacks. Finally, because much of the combat depth was revealed through the open beta, some exact numbers — stagger thresholds, parry frames, riposte damage — are community-estimated and subject to change between beta and the August 20, 2026 launch.
Frequently Asked Questions
How does the posture system work?+
Is there still a dodge or is it all parry?+
Does Harden work like the original game?+
Quick Tips
Read the enemy’s posture bar, not your own. Since there is no stamina, the only meter that matters is the enemy’s — and the fight progresses by filling it. Prioritize parries and blocks that build stagger over pure damage, because the riposte takedown is worth far more than a handful of normal hits.
Commit, but commit intelligently. Attacks are not cancellable, so mashing buttons gets you punished. Time each swing to an enemy’s recovery window, and use Harden to turn a mistimed commitment into a safe trade instead of a death. Watch your own replays if you can — identifying the exact attack that keeps breaking your rhythm is the fastest way to fix your reads.
Use stealth and sidearms to control the battlefield. Pull single enemies out of packs, soften dangerous targets from a distance and test boss reactions safely. A fight you start on your terms is a fight already half won. Combine two mechanics at a time rather than trying to master everything at once, which keeps the learning curve steep but manageable.
Featured

Mortal Shell II Combat Guide: Posture, Parry, Riposte
Master the Mortal Shell II combat guide fundamentals: the posture bar, parry and riposte takedowns, Harden timing, and how to read enemies without stamina.

Mortal Shell II Combo Guide: Light, Heavy, Charged Chains
Chain attacks effectively with this Mortal Shell II combo guide: light and heavy strings, charged follow-ups, and weaving posture breaks into finishers.
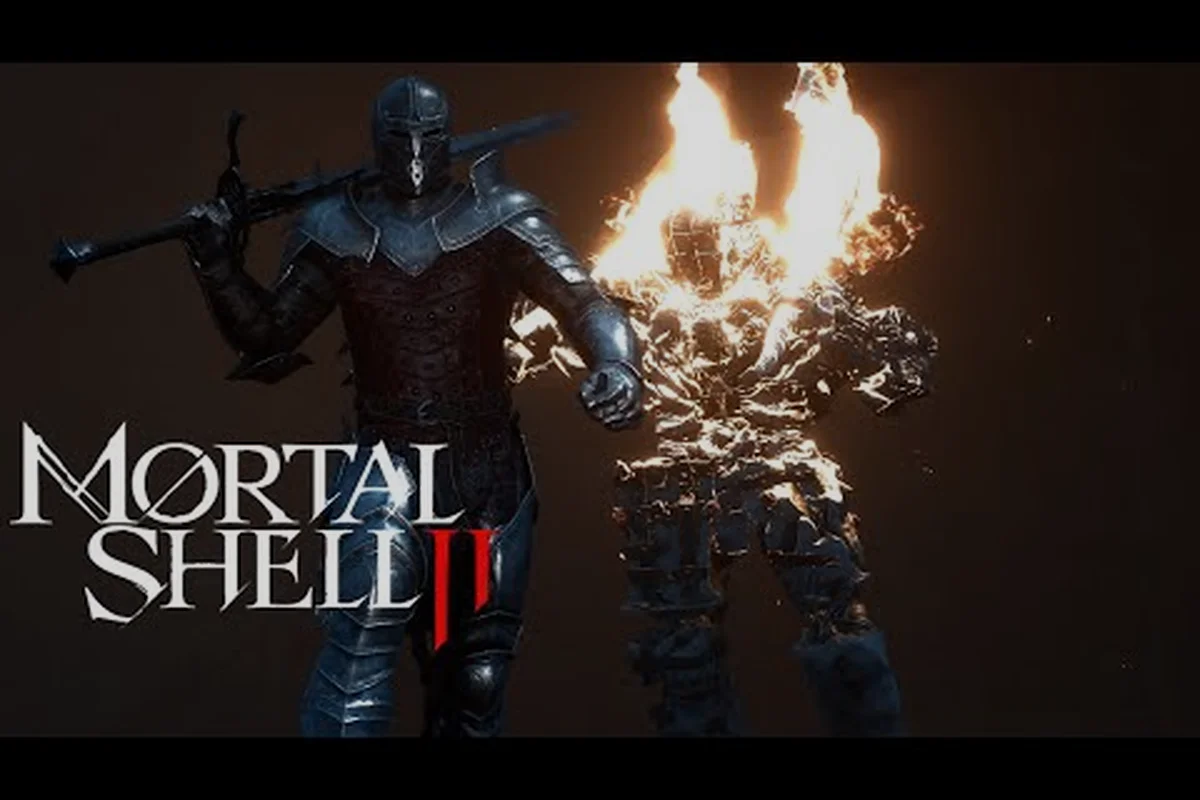
Mortal Shell II Dodge Guide: I-Frames and Positioning
A practical Mortal Shell II dodge guide covering invincibility frames, when to dodge through attacks, and positioning that avoids multi-enemy gang-ups.
All Articles
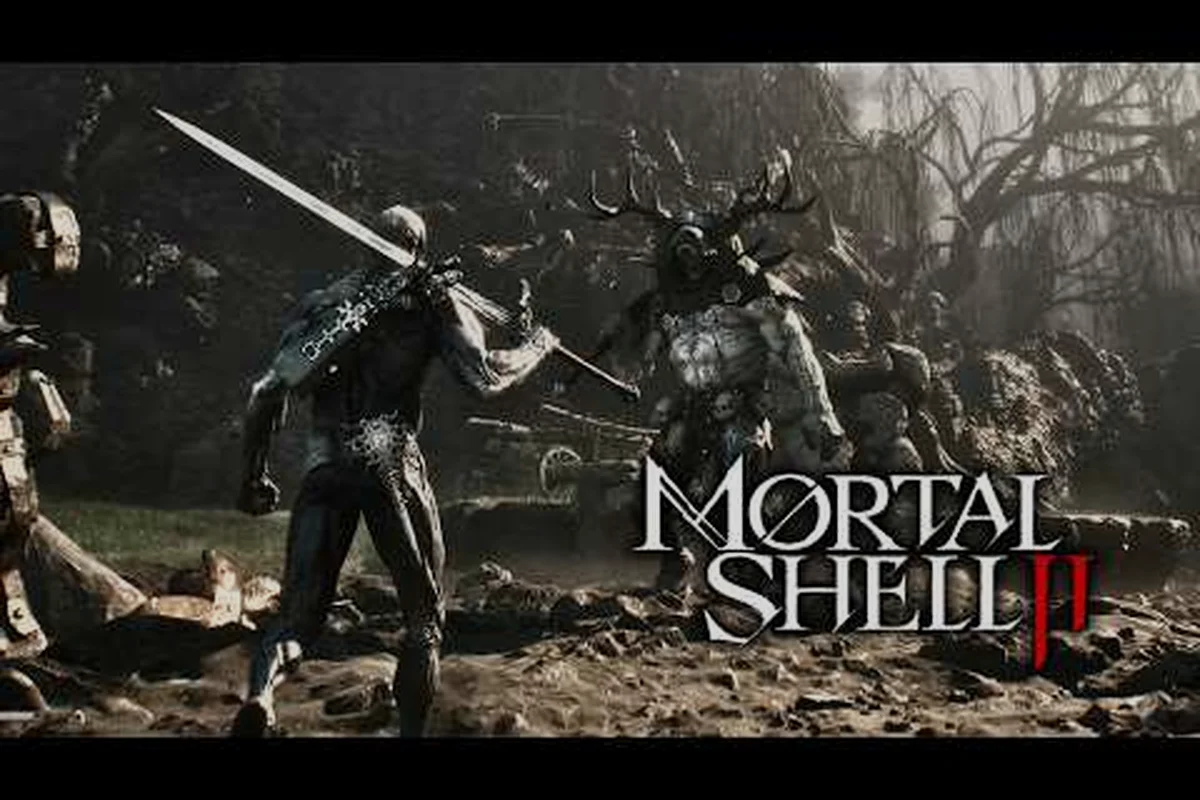
Mortal Shell II How to Counter Guide: Every Enemy Type
Learn how to counter in Mortal Shell II: parry, block, dodge, and Harden responses for every enemy attack pattern, so you can punish openings.
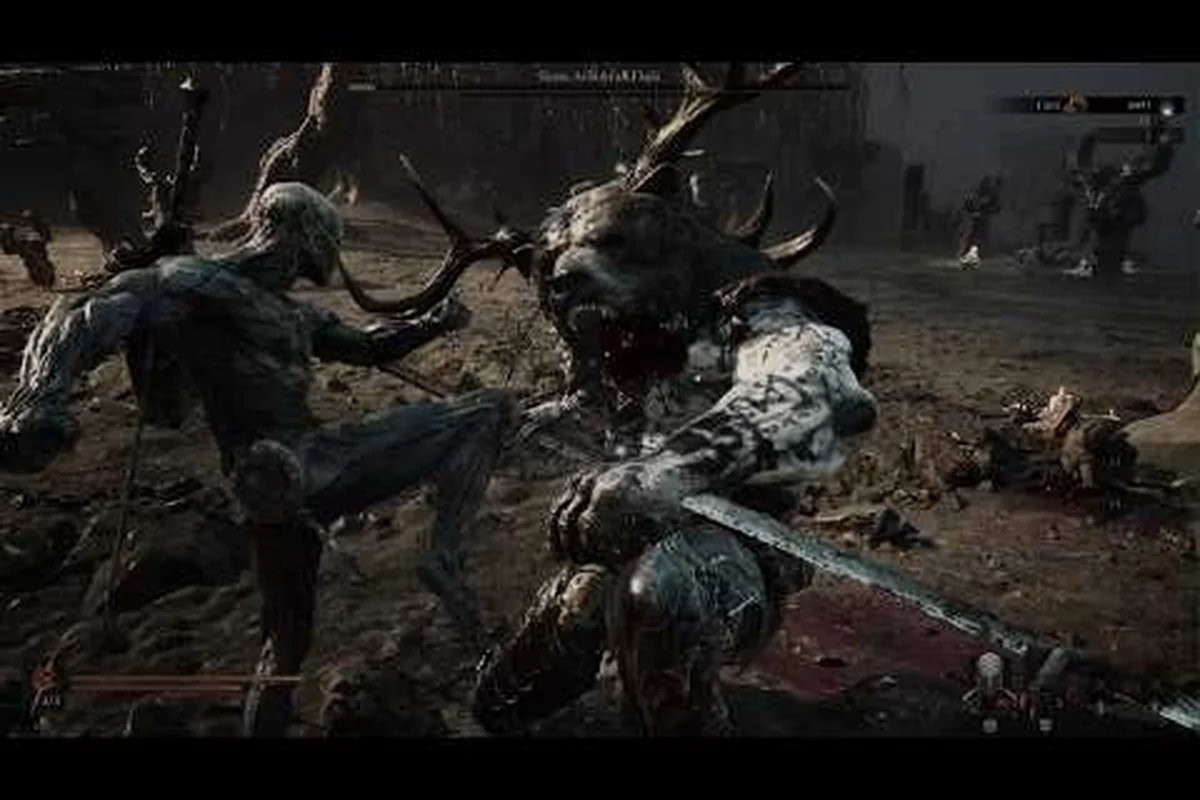
Mortal Shell II Multi Enemy Combat: Crowd Control Tactics
Survive Mortal Shell II multi enemy combat with crowd control tactics: spacing, Harden timing, stealth thinning, and sidearms for turning gang-ups into wins.
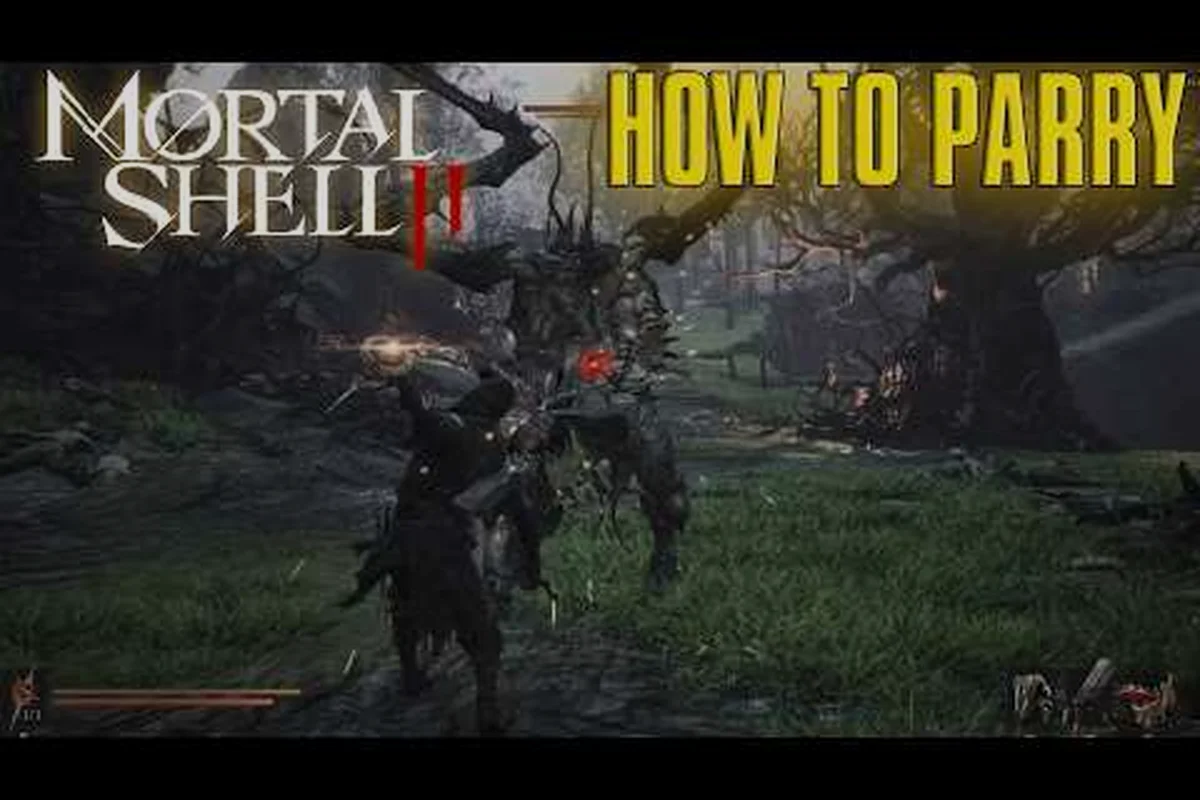
Mortal Shell II Parry Timing: Windows on Every Enemy
Master Mortal Shell II parry timing with this breakdown of parry windows per enemy type, how to bait predictable attacks, and recovering from a failed parry.
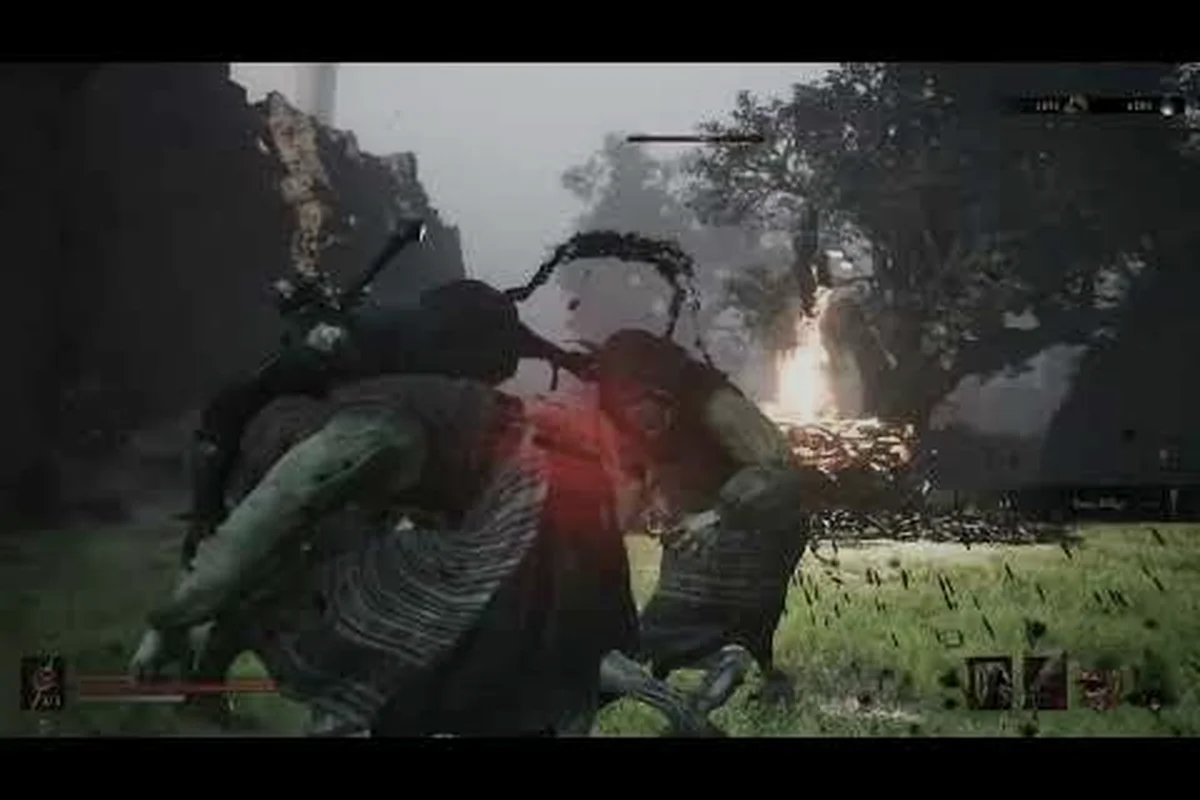
Mortal Shell II Shell Abilities Combat: Powers in Fights
Use Mortal Shell II shell abilities in combat effectively: each Shell's unique power, when to trigger it, and how abilities plus tarstones break posture.