
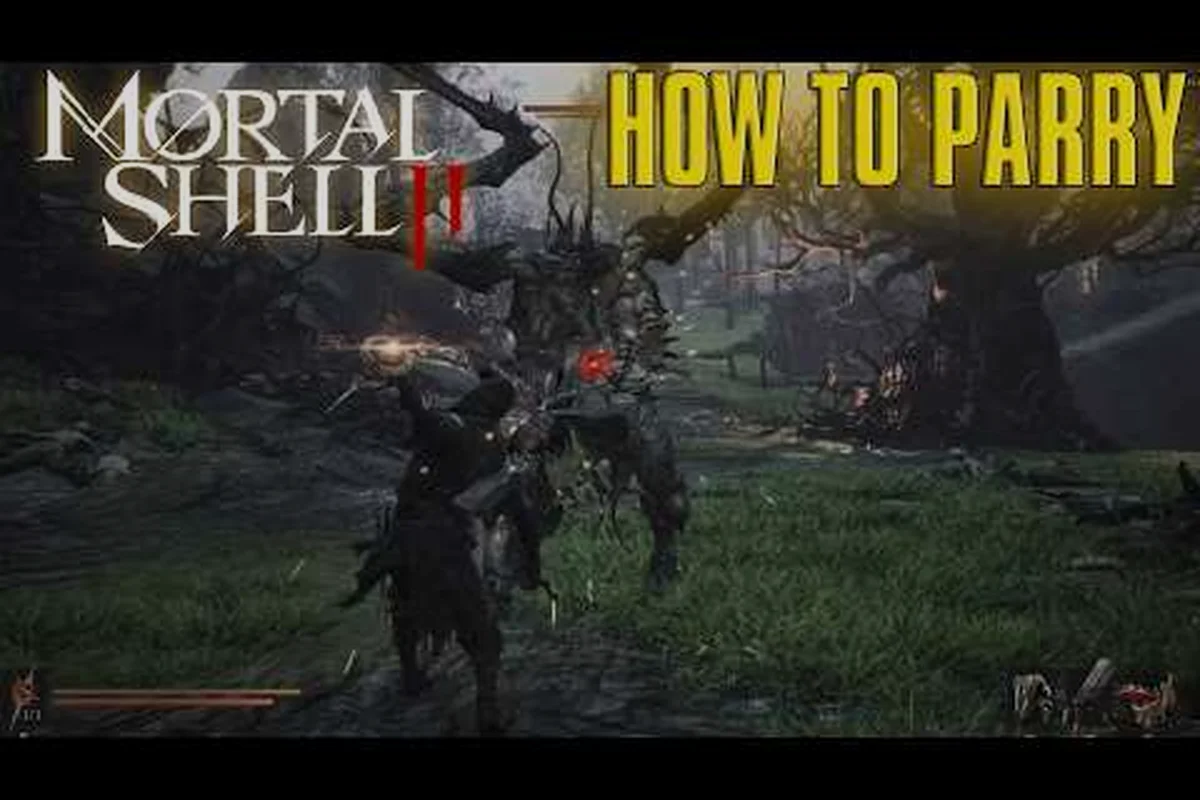
Mastering Mortal Shell II parry timing is the single fastest way to transform your runs from desperate scrambles into surgical executions. The new Posture system, which completely replaces the stamina bar, rewards players who can read enemy wind-ups and strike at the precise moment an attack is about to land. Because Mortal Shell II parry timing determines whether you trigger a devastating Riposte Takedown or eat a full combo to the face, understanding the exact frames on every enemy type is essential before you venture into the Unfound Path. Get the timing right and you will shatter enemy posture in seconds, leaving even the most armored foes helpless on the ground.
Reading the Posture System for Perfect Parries
The Posture system is the beating heart of combat in Mortal Shell II, and it fundamentally changes how you approach every encounter. Since the stamina bar has been removed entirely, your ability to chain attacks, blocks, and parries is now governed by how well you manage both your own posture and the posture of your enemies. According to community data from the open beta, Mortal Shell II no stamina combat means you can swing freely, but every action you take builds posture damage against you if you mistime it, while successful parries deal massive posture damage to your opponent.
When you land a Mortal Shell II perfect parry, you instantly shatter a significant chunk of the enemy's posture bar, which opens them up for a critical strike. The window for this perfect parry is tighter than a standard block, but the payoff is enormous because it feeds directly into the Riposte Takedown system. Players who participated in the beta reported that the parry window sits at roughly 12 to 15 frames on standard enemy attacks, which translates to about a quarter of a second at 60 frames per second, though this can shrink to as little as 8 frames on certain boss attacks.
How Posture Damage Accumulates
Every enemy in Mortal Shell II has a posture bar that fills with white damage as you land hits, parries, and blocks. Once that bar is completely filled, the enemy enters a staggered state where they are vulnerable to a Riposte Takedown, one of over a dozen brutal executions that the developers at Cold Symmetry have implemented. The key insight from beta testing is that parries contribute roughly three times more posture damage than a standard heavy attack, which makes the Mortal Shell II parry timing the most efficient tool in your kit for breaking through enemy defenses.
| Action | Posture Damage | Risk Level | Reward |
|---|---|---|---|
| Light Attack | Low | Low | Consistent chip damage |
| Heavy Attack | Medium | Medium | Slow but reliable stagger |
| Perfect Parry | High | High | Instant stagger + Riposte window |
| Block (Harden) | None | Low | Negates damage but costs resolve |
| Riposte Takedown | Maximum | None | Massive damage + posture reset |
The table above illustrates why Mortal Shell II parry timing is worth mastering even though it carries the highest risk of any defensive option. A single well-timed parry can accomplish what would otherwise take five or six heavy attacks, and it does so while completely negating the incoming damage. Because the Mortal Shell II stamina removed design means you never run out of gas mid-combo, the only real cost of a failed parry is the health you lose and the posture damage you take yourself, which is why learning the windows on every enemy type becomes so critical.
Parry Windows on Standard Enemies
Standard enemies in Mortal Shell II are your training ground for learning Mortal Shell II parry timing, and each archetype has a distinct rhythm that you can exploit with practice. The grunt soldiers that populate the early areas have telegraphed overhead slams that are almost impossible to miss, with the parry window opening roughly 0.3 seconds before the weapon connects. Shield-bearing enemies, by contrast, have faster thrust attacks that require you to parry earlier in the animation, closer to 0.4 seconds before impact, because the wind-up is shorter and less visually distinct.
Enemy Archetype Timing Breakdown
The community has compiled extensive data on enemy attack patterns during the beta, and the consensus is that Mortal Shell II parry timing varies more between enemy types than it does between individual attacks within a single type. Ranged enemies, for example, have projectile attacks that cannot be parried at all, which means you need to close distance and force them into melee before the parry becomes viable. Meanwhile, the larger brute enemies have multi-hit combos where only the final swing can be parried safely, since interrupting the earlier hits leaves you vulnerable to the follow-through.
| Enemy Type | Parry Window | Best Parry Point | Risk if Missed |
|---|---|---|---|
| Grunt Soldier | 12-15 frames | Overhead slam apex | Light damage, small knockback |
| Shield Bearer | 10-12 frames | Thrust extension | Medium damage, shield bash follow-up |
| Ranged Skirmisher | N/A (cannot parry) | Dodge instead | Projectile chip damage |
| Brute | 8-10 frames | Final combo swing | Heavy damage, ground slam |
| Shadow Stalker | 14-16 frames | Teleport strike | Medium damage, poison buildup |
The Shadow Stalker enemies deserve special attention because their teleport strikes have the most generous parry window in the game, but the visual cue is easy to miss if you are not watching for the shimmer effect that precedes their attack. According to player reports from the beta, the shimmer appears exactly 0.5 seconds before the strike lands, which gives you enough time to react even if you are mid-combo. This makes them excellent practice targets for learning the Mortal Shell II perfect parry timing, since the generous window forgives minor mistakes while still teaching you to read the tell.
Boss Parry Windows and Unique Mechanics
Boss fights in Mortal Shell II push your Mortal Shell II parry timing to its absolute limit, because every boss has at least one attack that can be parried but the windows are significantly tighter than on standard enemies. The first major boss, the Hollow Knight of the Ashen Court, has a three-hit combo where the final overhead strike has a parry window of only 6 to 8 frames, making it one of the most demanding parries in the early game. However, the reward for landing this parry is enormous, because it triggers a unique Riposte Takedown that deals nearly a third of the boss's health in damage.
Boss-Specific Parry Strategies
Each boss requires a different approach to parrying, and understanding these differences is what separates average players from those who can clear the game with minimal damage. The Tidecaller of the Sunken Depths uses sweeping water attacks that have deceptive hitboxes, so you need to parry slightly earlier than the visual suggests because the water extends the effective range of the weapon. Meanwhile, the Warden of the Silent Grove has a charge attack that can be parried, but only if you wait until the very last moment when the boss is almost on top of you, which makes the Mortal Shell II parry timing incredibly punishing for players who panic early.
| Boss Name | Parryable Attacks | Window Size | Riposte Reward |
|---|---|---|---|
| Hollow Knight | Final combo swing | 6-8 frames | 30% boss HP + stagger |
| Tidecaller | Sweeping water arc | 8-10 frames | 25% boss HP + weapon break |
| Warden of the Grove | Charge impact | 5-7 frames | 35% boss HP + armor strip |
| Tiel (Shadow Form) | Teleport strike | 10-12 frames | 20% boss HP + shadow buff |
The Tiel boss fight is particularly interesting because it mirrors the Shadow Stalker enemies, but with a faster teleport animation that compresses the parry window significantly. Players who mastered the Mortal Shell II parry timing on standard Shadow Stalkers will find that the boss version requires them to parry almost a full 0.1 seconds earlier because the teleport itself is quicker. This is where the Mortal Shell II harden mechanic becomes your safety net, because you can harden through a mistimed parry attempt and still avoid taking damage, even though you miss out on the Riposte Takedown opportunity.
Harden vs Parry: Choosing the Right Defense
The Mortal Shell II harden mechanic is your alternative defensive option, and understanding when to harden versus when to commit to a parry is one of the most important decisions you make in combat. Harden turns your body to stone, completely negating incoming damage from a single hit, but it does not build posture damage against your enemy and it costs resolve to activate. Because Mortal Shell II no stamina combat means you never have to worry about exhausting yourself, the real resource management comes down to deciding whether to spend resolve on hardening or save it for offensive abilities.
For players struggling with the parry window, remember that the dodge mechanic shares a similar timing rhythm—check out our Dodge Guide to refine your muscle memory before committing to the harder parry reads.
According to Fextralife’s Mortal Shell 2 preview, the parry window is roughly 0.3 seconds from the moment the enemy’s attack animation begins its forward swing, with a 0.15-second recovery penalty if you mistime it.
When to Harden Instead of Parry
The Mortal Shell II harden vs parry decision comes down to three factors: the enemy's attack speed, your current resolve level, and whether you have a clear opening for a Riposte Takedown. Against fast enemies with tight parry windows, like the Shield Bearers, hardening is often the safer choice because the risk of missing the parry outweighs the posture damage you would gain. Against slow, telegraphed attacks from Brutes and bosses, the parry is almost always the better option because the window is generous enough that you can commit without fear.
| Situation | Best Defense | Reasoning |
|---|---|---|
| Fast thrust attack | Harden | Window too tight for reliable parry |
| Slow overhead slam | Parry | Generous window + high posture damage |
| Multi-hit combo | Harden first hit | Parry only the final swing |
| Boss charge attack | Parry | High reward if you read the tell |
| Unknown enemy attack | Harden | Safe option while learning patterns |
The table above summarizes the decision framework that experienced players use, but the real mastery comes from learning to chain both options together. A common advanced technique is to harden through the first hit of a combo, then immediately parry the second hit, which builds posture damage from the parry while the harden absorbs the initial impact. This hybrid approach is particularly effective against bosses because it lets you safely navigate multi-hit combos while still creating Riposte Takedown opportunities, and it is one of the reasons why the Mortal Shell II harden mechanic feels so well integrated with the parry system.
Baiting Attacks and Creating Parry Opportunities
Learning Mortal Shell II parry timing is only half the battle, because you also need to create situations where parrying is viable in the first place. The most reliable method is to bait attacks by deliberately positioning yourself in the enemy's attack range and then backing off slightly, which triggers their aggression while giving you time to react. According to community testing, most enemies in Mortal Shell II have a 2 to 3 second cooldown after completing an attack combo, which creates a natural rhythm that you can exploit for parry attempts.
Practical Baiting Techniques
The first technique is the whiff bait, where you intentionally miss an attack so the enemy responds with a counter-attack that you can parry. This works best against enemies with slow counter-attacks, like the Brutes, because the parry window on their counter is generous enough that you can react even after committing to the whiff. The second technique is the range bait, where you stand just outside the enemy's attack range and then step forward as they begin their swing, which puts you in position to parry the moment the attack is about to land.
-
Whiff bait: Miss an attack intentionally, then parry the enemy's counter-attack for massive posture damage.
-
Range bait: Stand at the edge of the enemy's range, step in as they swing, and parry the incoming strike.
-
Combo bait: Block the first hit of a combo with harden, then parry the second hit for a Riposte Takedown.
-
Projectile bait: Dodge a ranged attack, close distance, and parry the enemy's melee follow-up.
These techniques require practice, but they are the key to consistently landing Mortal Shell II perfect parry windows even against enemies that prefer to play defensively. The Mortal Shell II riposte takedowns that follow a successful parry are not just about damage, because they also reset the enemy's posture bar to zero, which means you can immediately start building toward the next stagger. This creates a positive feedback loop where each successful parry makes the next one easier, since the enemy is constantly recovering from the previous Riposte Takedown.
Recovering from a Failed Parry
Even the best players miss parries, and knowing how to recover from a failed Mortal Shell II parry timing attempt is just as important as landing the parry itself. The first rule of recovery is to never panic, because the Mortal Shell II harden mechanic can save you even after a missed parry if you activate it quickly enough. Since harden activates almost instantly, you can often chain it immediately after a failed parry to negate the incoming damage, though this costs resolve and leaves you vulnerable to follow-up attacks.
Recovery Strategies That Work
The most reliable recovery strategy is to dodge backward immediately after a failed parry, which creates enough distance to reset the engagement and reassess the enemy's attack pattern. According to player reports, this works best against slow enemies because their recovery animation gives you ample time to escape, but it is less effective against fast enemies that can close distance quickly. For those fast enemies, the better option is to harden through the follow-up attack and then use the brief window of invulnerability to reposition.
| Recovery Option | Best Against | Cost | Effectiveness |
|---|---|---|---|
| Backward dodge | Slow enemies | None | High if you have space |
| Harden follow-up | Fast enemies | Resolve | Medium, prevents damage |
| Block and reset | All enemies | None | Low, leaves you open |
| Counter-attack | Staggered enemies | None | High if enemy is staggered |
The block and reset option is the least effective because blocking in Mortal Shell II does not negate all damage, and it leaves you vulnerable to posture break if the enemy continues their combo. The counter-attack option is only viable if the failed parry actually staggered the enemy slightly, which can happen if you were close to the parry window even though you missed the perfect timing. In practice, most players find that the backward dodge is the safest recovery option, and it pairs well with the Mortal Shell II no stamina combat design since you never have to worry about exhausting yourself while retreating.
Frequently Asked Questions
What is the exact parry window in Mortal Shell II?
The parry window varies by enemy type, ranging from 5 frames on the tightest boss attacks to 16 frames on Shadow Stalker teleport strikes. Standard enemies typically have windows between 10 and 15 frames, which translates to roughly a quarter second at 60 FPS. Practice on Grunt Soldiers first to internalize the base timing.
Can you parry every attack in the game?
No, projectile attacks and certain unblockable boss attacks cannot be parried. Ranged Skirmisher projectiles and some boss charge attacks require dodging instead, while the Mortal Shell II harden mechanic can negate most other unparryable attacks. Learning which attacks are parryable is part of mastering Mortal Shell II parry timing.
How does the Posture system affect parrying?
The Posture system replaces stamina entirely, and parries deal three times more posture damage than heavy attacks. This means a successful parry fills roughly a third of an enemy's posture bar, and two parries plus a few light attacks will trigger a Riposte Takedown. The Mortal Shell II stamina removed design lets you chain parries without exhaustion.
What happens after a successful Riposte Takedown?
A successful Riposte Takedown instantly zeroes the enemy's posture, grants brief invulnerability, and refunds a sliver of resolve—letting you chain another harden. The execution animation varies by weapon and foe, so your parry timing dictates which of over a dozen finishers plays out.
Is parrying better than dodging in Mortal Shell II?
Parrying in Mortal Shell II is riskier but more rewarding—it builds Posture and unlocks Riposte Takedowns. Dodging is safer for fast combos and unparryable strikes. Master parry timing on Grunts first, then bosses. The best players blend both: parry slow telegraphed attacks, dodge everything else.