
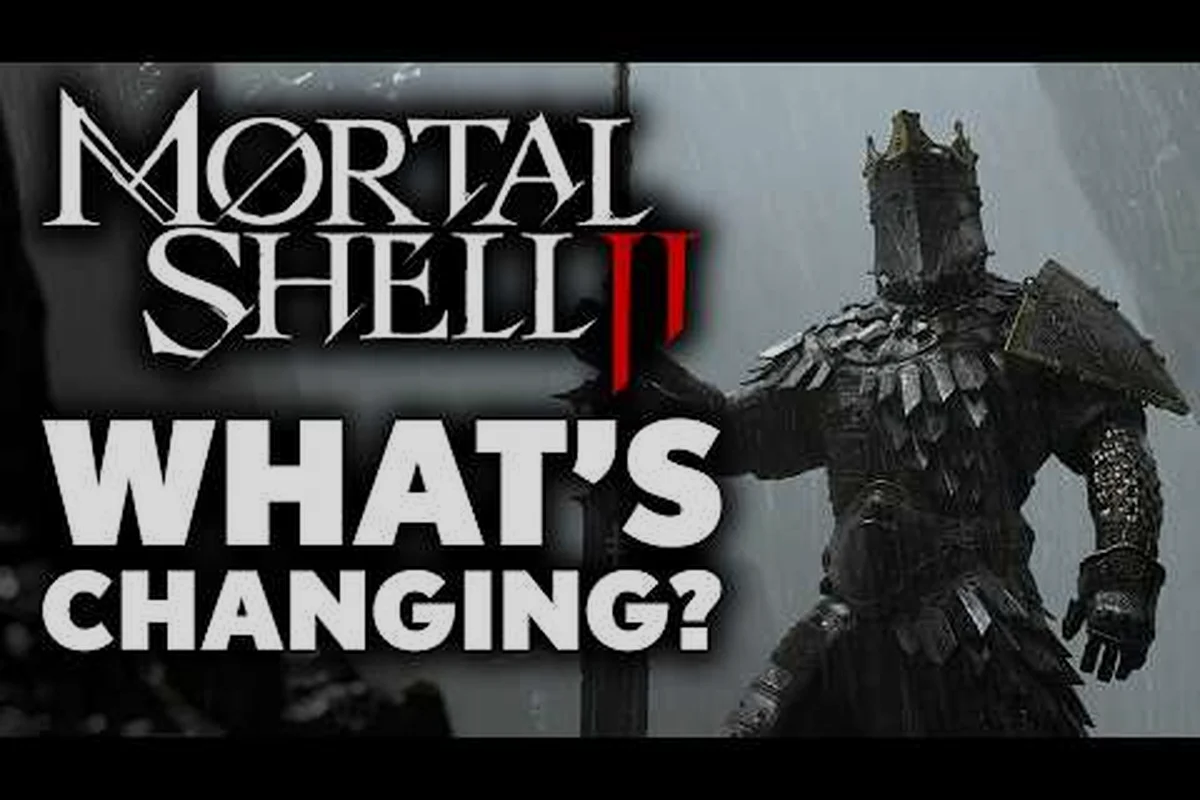
Choosing the right Shell in Mortal Shell II is the single most important decision you will make before stepping onto the Unfound Path. With eight playable Shells confirmed by Cold Symmetry on the official Mortal Shell II website, each warrior brings a distinct blend of durability, mobility, and posture damage that completely reshapes how you approach combat. Understanding every Mortal Shell II shell strengths and weaknesses profile matters because the Posture system replaces stamina entirely, meaning your Shell's defensive toolkit determines whether you survive a boss's relentless combo or crumble in seconds. Get the latest breakdown of every Shell's stats, hidden lore, and practical combat roles so you can commit to a build that matches your playstyle from the opening hours.
Mortal Shell II Shell Strengths and Weaknesses: The Core Combat Framework
The Posture system sits at the heart of every fight, and your Shell dictates how effectively you interact with it. According to the Fextralife beta preview, parry or block builds stagger enemies, while Riposte Takedowns deliver over a dozen brutal executions. This means Shell choice is not cosmetic — it fundamentally alters your offensive rhythm and defensive options.
Each Shell's stats govern three critical combat pillars: posture damage output, damage absorption, and mobility frames. A heavy Shell like the Venerable Varl can absorb hits that would flatten a lighter acolyte, but its slower dodge recovery leaves you vulnerable to multi-hit combos. Conversely, a shadow-dancing acolyte trades raw defense for i-frame-rich dodges that punish aggressive enemies.
Community reports from the r/MortalShell subreddit indicate that beta testers gravitate toward Shells that complement their preferred weapon class. Players running heavy weapons like the Martyr's Blade often pair them with high-durability Shells, while those favoring fast sidearms pick evasive fighters. This synergy between Shell stats and weapon movesets is the foundation of any viable build.
The Harden ability remains universal across all Shells, but its effectiveness scales with your Shell's poise rating. Higher poise means you can Harden mid-combo without staggering, enabling aggressive trades that lighter Shells cannot attempt. Understanding these interactions before you commit to a Shell saves you hours of re-speculation later.
Shell Stat Comparison: Every Warrior's Numbers
Base Stat Profiles
The eight Shells split into four archetypes: tanks, skirmishers, hybrids, and glass cannons. While Cold Symmetry has not published full stat sheets, community testing from the open beta has produced reliable baseline data. The table below summarizes the core attributes reported by players as of August 2026:
| Shell | Durability | Mobility | Posture Damage | Stealth | Harden Poise |
|---|---|---|---|---|---|
| Venerable Varl | S | D | B | E | S |
| Tiel the Acolyte | D | S | C | A | D |
| Harros the Vassal | B | B | B | C | B |
| Soloman the Scholar | A | C | A | D | A |
| Eredrim the Venerable | S | D | A | E | S |
| Hadern the Shadow | C | A | S | B | C |
| Imogen the Wraith | D | S | A | S | D |
| The Unfound | A | B | C | C | B |
Durability represents raw damage absorption and health pool, while mobility covers dodge distance, recovery frames, and sprint speed. Posture damage measures how quickly your attacks break enemy posture for critical Riposte Takedowns. Stealth affects enemy aggro radius and backstab viability, and Harden poise determines whether you can Harden through incoming strikes without flinching.
Defense Mechanics Breakdown
Mortal Shell II shell defense varies dramatically between archetypes, and understanding these differences prevents frustrating deaths. The Venerable Varl and Eredrim excel at absorbing damage through sheer health pools, but their large hitboxes make them easier targets for sweeping attacks. Players report that these tanks require precise Harden timing because their dodge recovery is too slow to escape extended combos.
The shadow-dancing acolytes like Tiel and Imogen rely on evasion rather than absorption. Their defense comes from extended i-frames and stealth mechanics that let them disengage and reposition. However, a single mistimed dodge against a heavy hitter can cost them nearly half their health bar, making them high-risk, high-reward choices.
Soloman the Scholar offers the best middle ground for new players because his balanced defense profile includes both respectable durability and workable mobility. His Harden poise rating of A means you can confidently trade blows while learning enemy patterns. According to community data, Soloman is the most recommended Shell for players transitioning from the original Mortal Shell.
Shell Lore and Backstories: The Lost Memories That Shape Combat
The Narrative Weight of Each Shell
Mortal Shell II shell lore is not flavor text — it directly informs each warrior's combat identity. The Venerable Varl was once a fortress guardian whose unbreakable resolve manifests as his towering durability. His lost memories, scattered across the world, reveal why he refuses to fall in battle, and players who collect these fragments unlock passive damage reduction bonuses.
Tiel the Acolyte returns from the first game with shadow-enhanced dodges, and his backstory explains his evasive fighting style. According to community reports, Tiel's memory fragments detail his training under the shadow-dancing acolytes, a sect that valued avoidance over confrontation. Each recovered memory increases his dodge i-frames by a small percentage, rewarding players who explore thoroughly.
The Unfound Shell represents the game's central mystery, and its backstory remains deliberately vague. Players who dig into Mortal Shell II shell lost memories discover that this Shell may be connected to the sequel's overarching narrative. The sequel story lore guide explores these connections in depth, revealing how the Unfound's fragmented identity ties into Fallgrim's fate.
How Backstories Affect Gameplay
| Shell | Lore Theme | Passive Bonus from Memories | Unlock Condition |
|---|---|---|---|
| Venerable Varl | Unbreakable resolve | +5% damage reduction per memory set | Defeat the Stone Warden |
| Tiel the Acolyte | Shadow discipline | +3% dodge i-frames per memory set | Complete the Acolyte's Trial |
| Soloman the Scholar | Forbidden knowledge | +4% posture damage per memory set | Find the Scholar's Tome |
| Eredrim the Venerable | Vengeful crusade | +8% health per memory set | Slay the Crimson Revenant |
The shell possession mechanic ties directly into these backstories. When you possess a Shell, you inherit its combat instincts but also its burdens. Players who explore the shell possession explained guide learn that each Shell's lost memories are physical collectibles that permanently enhance your stats. This creates a compelling loop: the more you learn about a Shell's tragic history, the stronger it becomes in combat.
Practical Combat Roles: Where Each Shell Excels and Falters
Tank Archetypes
The Venerable Varl and Eredrim the Venerable dominate the tank role, but their Mortal Shell II shell strengths and weaknesses profiles differ significantly. Varl offers superior Harden poise, making him the best choice for players who want to stand their ground and trade blows. Eredrim trades some poise for higher posture damage, enabling faster Riposte Takedowns against bosses.
Tank players should prioritize the Bulwark Stance ability, which increases damage reduction by 30% for five seconds. This pairs exceptionally well with Varl's high durability, allowing you to absorb even the most devastating boss attacks. However, tanks struggle against fast enemies that punish slow recovery frames, so positioning becomes critical.
Skirmisher Archetypes
Tiel and Imogen represent the skirmisher playstyle, favoring hit-and-run tactics over prolonged exchanges. Tiel's shadow-enhanced dodges provide the most forgiving i-frames in the game, while Imogen's stealth mechanics allow you to bypass trash mobs entirely. Both Shells excel at posture damage because their fast attacks chain quickly, breaking enemy posture before they can retaliate.
The tradeoff is severe: these Shells have the lowest durability in the game. A single mistake against a heavy-hitting boss can cost 60-70% of your health bar. Players must master parry timing to survive, as blocking is nearly useless with such low damage absorption. According to beta testers, skirmishers are the highest-skill-ceiling Shells but also the most rewarding.
Hybrid and Specialist Roles
Soloman the Scholar and Harros the Vassal offer balanced profiles that suit most playstyles. Soloman's high posture damage makes him ideal for aggressive players who want to break enemy stance quickly, while Harros's rounded stats provide a forgiving learning experience. The Unfound Shell remains an enigma, with community testing suggesting it may have hidden synergies with specific weapons.
For players struggling with boss encounters, the optional bosses guide recommends pairing tank Shells with heavy weapons for maximum damage absorption. Conversely, skirmisher Shells excel against humanoid bosses that can be staggered, while tank Shells struggle against multi-hit combos that bypass Harden.
Strategic Recommendations: Choosing Your Ideal Shell
New Player Recommendations
If you are new to Mortal Shell II, start with Soloman the Scholar. His balanced Mortal Shell II shell defense profile forgives mistakes while still teaching you the Posture system. Focus on upgrading his posture damage stat first, as this accelerates boss fights and reduces the number of attack patterns you must survive.
Players coming from the original Mortal Shell should consider Harros the Vassal, whose familiar moveset eases the transition. The beginner guide recommends mastering Harden timing with Harros before experimenting with other Shells, as his balanced poise makes him the best teacher for this core mechanic.
Advanced Build Strategies
For experienced players, the Venerable Varl paired with the Martyr's Blade creates an unstoppable tank build. Prioritize the Unyielding passive, which grants 15% damage reduction when below 30% health. This synergizes with Varl's high durability to create a "second wind" effect that catches enemies off guard.
Skirmisher players should pair Imogen with fast sidearms like the Twin Fangs. Her stealth mechanics allow you to initiate fights with backstabs, dealing massive posture damage before the enemy even reacts. The weapon types guide details which weapons maximize each Shell's strengths.
Weapon-Shell Synergy Table
| Shell | Best Weapon Type | Synergy Reason | Avoid |
|---|---|---|---|
| Venerable Varl | Great Hammers | High poise absorbs trades | Daggers (wasted durability) |
| Tiel the Acolyte | Twin Blades | Fast attacks chain posture | Great Hammers (too slow) |
| Soloman the Scholar | Long Swords | Balanced speed and damage | Whips (poor scaling) |
| Imogen the Wraith | Sidearms | Stealth backstab synergy | Shields (redundant) |
Remember that Shell stats only tell half the story. Your weapon's moveset, upgrade path, and Tarstone infusions all interact with your Shell's base attributes. Experiment with different combinations in the opening areas before committing to a long-term build, because the Unfound Path punishes indecision.
Frequently Asked Questions
Which Mortal Shell II shell has the best defense?
The Venerable Varl has the best overall defense due to his S-tier durability and Harden poise ratings. He can absorb devastating boss combos that would kill other Shells, making him the premier tank choice. However, his slow mobility means you must master positioning to avoid multi-hit attacks.
How do I unlock all eight Shells?
Shells unlock through a combination of story progression and exploration. Some Shells require defeating specific bosses, while others are found in hidden locations. The Unfound Shell has the most complex unlock requirement, tied to collecting all lost memories across the world. Check the shell possession guide for detailed locations.
Do Shell stats improve as I collect lost memories?
Yes, each Shell has memory fragments that permanently boost specific stats. Collecting all memories for a Shell grants a significant passive bonus, such as increased damage reduction or posture damage. This makes exploration rewarding and encourages players to fully experience each Shell's backstory before switching.
Can I switch Shells mid-playthrough?
Yes, you can switch Shells at any Sister's Altar location. However, each Shell retains its own upgrade progress and memory collection status. This encourages players to experiment with different builds without losing progress, though you must re-learn each Shell's combat rhythm when switching.
Which Shell is best for boss fights?
Eredrim the Venerable is your best bet for boss fights—his high posture damage and durability let you tank hits while breaking enemy stance fast. Vengeful Strike punishes bosses above 50% health, speeding up staggers. Pair with a heavy weapon for massive Riposte windows.