
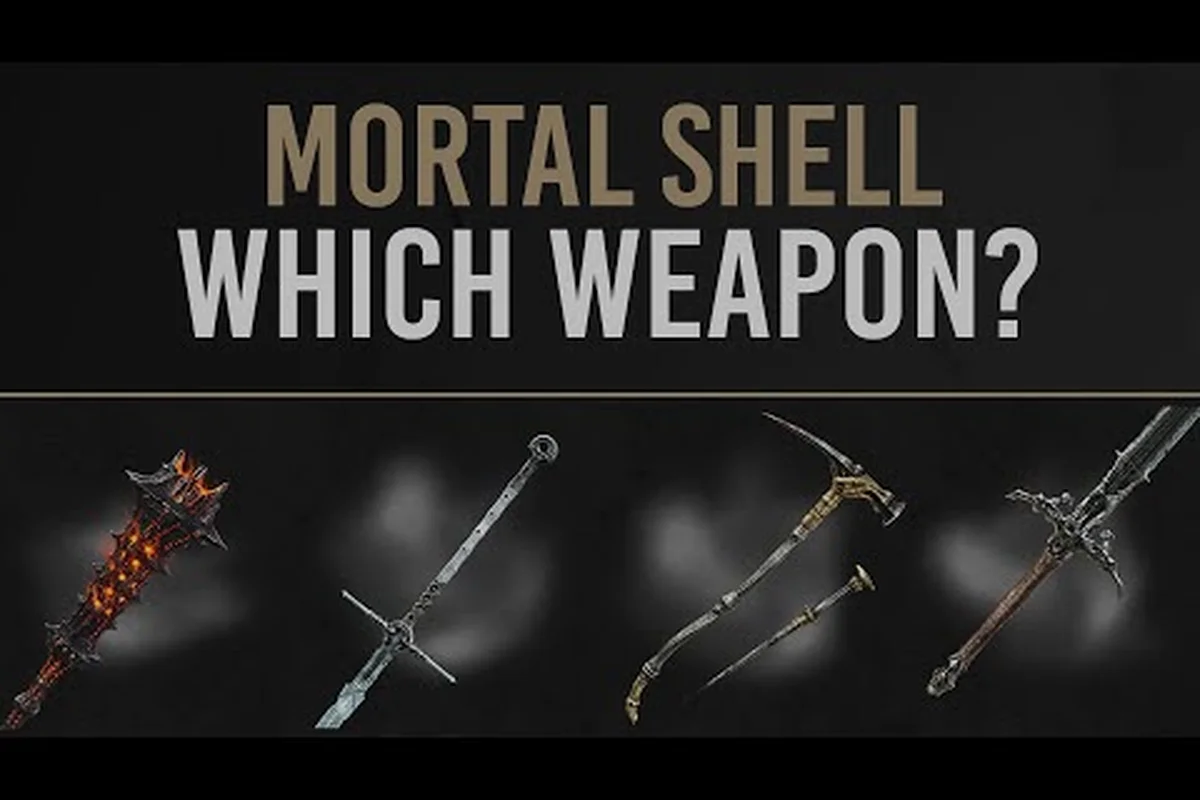
Picking the right tool for the Unfound Path can decide whether you shatter an enemy's posture or eat a counterattack to the face. Mortal Shell II weapon types span fast one-handed blades, crushing hammers, versatile axes, and ranged sidearms, and each family plays completely differently under the new Posture system. Because the game removes the stamina bar entirely, your weapon's attack speed, reach, and posture damage per swing become the real currency of combat. This guide breaks down every weapon category, explains how weapon stats and scaling work, and helps you match a loadout to your Shell so you can dominate the open beta and full launch on August 20, 2026.
According to Mortal Shell II weapon type breakdown, the weapon categories are defined by distinct attack patterns, stamina costs, and scaling mechanics that directly influence combat strategy.
Weapon Type Overview and Combat Roles
The first thing to understand about Mortal Shell II weapon types is that they are not just damage sticks with different animations. Each family occupies a distinct combat role that interacts with the Posture system, which replaces stamina as the core resource. According to the official Steam description, combat is unrestricted by stamina, so you can swing freely until you either break the enemy or get broken yourself. That freedom makes weapon choice far more impactful than in traditional soulslike games, because there is no stamina bar to punish reckless spam.
Here is the core breakdown of the main weapon families available at launch:
-
One-Handed Swords — Balanced speed and reach, moderate posture damage per hit, and the most forgiving recovery frames for parry attempts.
-
Heavy Hammers — Slow but devastating, dealing the highest posture damage per swing and capable of flattening shielded enemies in two or three hits.
-
Axes — The middle ground between swords and hammers, offering wide sweeping arcs that excel at crowd control and multi-target posture buildup.
-
Ranged Sidearms — A secondary weapon slot that lets you chip away at posture from a distance or finish off a fleeing foe, though ammunition is limited.
-
Unique and Hidden Weapons — Specialized tools with custom move sets that often require exploration or boss kills to unlock, and they frequently break the standard weapon type rules.
The Posture system rewards aggression because every successful hit builds stagger on the enemy, and when their posture breaks, you can trigger a Riposte Takedown for massive damage. Community beta reports from the r/MortalShell subreddit indicate that parry or block builds can build stagger even faster, which means your weapon's posture damage stat matters as much as its raw attack rating. If you want to see how these families rank against each other in practical terms, our Mortal Shell II tier list breaks down the best weapons and Shells for every stage of the game.
One-Handed Swords: Speed and Precision
One-handed swords are the default recommendation for players who want to learn enemy timing without committing to slow animations. These weapons offer the fastest light attack chains in the game, which makes them excellent for building posture through volume rather than raw power. Because the Posture system rewards consistent pressure, a sword user can keep an enemy locked in a hitstun loop while slowly chipping away at their stagger bar.
The tradeoff is that swords deal lower posture damage per individual hit, so you need to land more attacks to trigger a Riposte Takedown. However, the faster recovery frames mean you can dodge or parry more reliably after a missed swing, which is a massive safety advantage when you are still learning boss patterns. For players who prefer a defensive, reactive style, the one-handed sword paired with a reliable parry timing is arguably the strongest early-game combination.
| Weapon | Attack Speed | Posture Damage per Hit | Reach | Best Shell Synergy |
|---|---|---|---|---|
| Short Sword | Very Fast | Low | Short | Tiel (agile dodges) |
| Longsword | Fast | Medium | Medium | Soloman (balanced) |
| Falchion | Fast | Medium | Short | Hadern (parry focus) |
| Estoc | Medium | Medium-High | Long | Eredrim (tanky trades) |
The weapon stats on swords also tend to favor quality builds, meaning they scale reasonably well with both strength and agility stats. This flexibility makes them a safe choice if you are unsure which Shell you want to commit to for a full playthrough. If you are still deciding between Shells, our shell strengths and weaknesses guide explains how each Shell's stats interact with different weapon families.
Sword Move Sets and Combos
Sword light attacks chain into a three-hit combo that ends with a thrust, which has slightly longer reach than the previous swings. The heavy attack is a lunging stab that covers ground quickly and deals bonus posture damage when it connects at the tip. Charging the heavy attack fully adds a second hit that can break shields, making swords surprisingly effective against defensive enemies despite their low individual posture values.
Heavy Hammers: Posture Breaking Power
Heavy hammers are the polar opposite of swords, trading attack speed for the highest posture damage per swing in the game. A single charged hammer blow can strip away a third of a basic enemy's posture bar, and two or three clean hits will leave almost anything vulnerable to a Riposte Takedown. This makes hammers the premier choice for players who want to end fights quickly rather than dance around enemies.
The downside is commitment. Hammer attacks have long wind-up animations and even longer recovery frames, so a missed swing leaves you wide open for a counterattack. You cannot spam hammer attacks the way you can with a sword, because the Posture system does not punish you with stamina drain, but it does punish you with enemy hits. Community testing from the Fextralife beta preview suggests that hammer users need to rely heavily on the Harden mechanic to tank through enemy attacks while winding up their own.
| Hammer | Damage per Hit | Posture Damage | Swing Speed | Special Trait |
|---|---|---|---|---|
| Club | Medium | High | Slow | Low stat requirements |
| War Hammer | High | Very High | Very Slow | Breaks shields in 2 hits |
| Great Mace | Very High | Very High | Very Slow | Knockdown on charged hit |
| Smoldering Maul | High | High | Slow | Adds fire damage over time |
Because hammers deal such massive weapon damage, they pair exceptionally well with tanky Shells that can absorb hits while winding up. Eredrim, with his durability-focused abilities, can trade blows with enemies and come out ahead because his high defense compensates for the hammer's slow recovery. The official website describes Eredrim as a durability-focused tank, which makes him the natural partner for the slowest, hardest-hitting weapons in the game.
Hammer Positioning and Timing
The key to using hammers effectively is positioning. You want to bait an enemy attack, Harden through it, and then release your charged heavy attack while they are recovering. This creates a rhythm where you are always punishing their whiffs rather than trading blows. Against groups, the hammer's wide overhead slam can hit multiple enemies, but the long recovery means you should only attempt this when you are confident the surrounding enemies are staggered.
Axes: Versatile Crowd Control
Axes occupy the middle ground between swords and hammers, offering a blend of speed, reach, and posture damage that makes them the most versatile weapon family in Mortal Shell II weapon types. Their light attacks sweep in wide arcs that can hit multiple enemies at once, while their heavy attacks deliver a vertical chop with solid posture damage. This combination makes axes the best choice for players who want to handle both single targets and groups without switching weapons.
The weapon scaling on axes tends to favor strength, but several axes in the game also scale with agility, giving players more build variety than the hammer family. Axes also have the most forgiving hitboxes in the game, which means you are less likely to whiff against fast-moving enemies. According to community reports, the axe's wide swing arc is particularly effective against the swarm-type enemies that appear in the later dungeons.
| Axe | Damage per Hit | Posture Damage | Swing Arc | Best Use Case |
|---|---|---|---|---|
| Hand Axe | Medium | Medium | Wide | Crowd control |
| Battle Axe | High | High | Wide | General purpose |
| Greataxe | Very High | Very High | Medium | Boss fights |
| Crescent Axe | Medium | Medium | Very Wide | Group posture buildup |
Axes also benefit from the weapon customization system more than other families because their balanced stats mean you can slot almost any upgrade without wasting its potential. Whether you want to focus on raw damage, posture buildup, or elemental effects, an axe can accommodate your build. If you are looking for a single weapon to carry you through the entire game, a well-upgraded battle axe is the safest bet.
Axe Heavy Attack Chains
The axe's charged heavy attack is a spinning slash that hits enemies on both sides of you, which is excellent for breaking up groups that try to surround you. Following up with a light attack after the spin creates a unique combo that ends with a downward chop, dealing bonus posture damage to the primary target. This combo is one of the most reliable ways to build stagger against multiple enemies simultaneously.
Ranged Sidearms and Weapon Loadouts
Ranged sidearms are a secondary weapon slot that every player can equip alongside their primary melee weapon. These weapons include crossbows, throwing knives, and short-range firearms that deal moderate damage but excel at building posture from a distance. Because ammunition is limited, sidearms are best used to open an engagement, finish off a fleeing enemy, or interrupt a spellcaster before they can complete a cast.
The weapon loadout system lets you carry one primary weapon and one sidearm, and you can swap between them instantly with a dedicated button. This flexibility means you can pair a slow hammer with a fast crossbow to cover your weaknesses, or double down on aggression with a sword and throwing knives. For a deeper look at how to build effective loadouts, check out our weapon loadout guide which covers sidearm selection and combo strategies.
| Sidearm | Damage | Posture Damage | Ammo Capacity | Reload Speed |
|---|---|---|---|---|
| Crossbow | Medium | Medium | 12 | Slow |
| Throwing Knives | Low | Low | 20 | Instant |
| Hand Cannon | High | High | 6 | Very Slow |
| Javelin | Medium | High | 8 | Medium |
Sidearms also interact with the Posture system in a unique way: hitting an enemy with a ranged attack while they are mid-swing interrupts their animation and adds a small posture penalty. This makes sidearms invaluable for controlling aggressive enemies that rush you down, because you can stagger them at range and then close the distance for a melee punish.
Sidearm Ammo Management
Ammo management is critical because sidearm ammunition does not regenerate automatically. You need to find ammo pickups in the world, purchase refills from merchants, or use a Shell ability that restores ammunition. Community players recommend saving your sidearm for boss fights and elite enemies rather than wasting shots on basic trash mobs, since the posture damage is most valuable against tougher targets.
Weapon Stats, Scaling, and Customization
Understanding Mortal Shell II weapon stats is essential for building an effective loadout, because raw damage numbers do not tell the whole story. Every weapon has a base damage value, a posture damage value, and a scaling coefficient for each stat. The scaling determines how much bonus damage you get from your Shell's stats, so a weapon with high strength scaling will outperform a base-damage-heavy weapon once your strength stat reaches a certain threshold.
The weapon damage formula combines the base damage with the scaling bonus, and the final number is then modified by the enemy's defense and your weapon's upgrade level. Upgrading a weapon at a blacksmith increases both its base damage and its scaling coefficients, which means upgrades become more valuable as your stats grow. The official Steam page mentions extensive weapon upgrades across more than 80 dungeons, so you will have plenty of opportunities to improve your favorite tools.
| Stat | Effect on Weapons | Priority for Swords | Priority for Hammers | Priority for Axes |
|---|---|---|---|---|
| Strength | Increases damage for strength-scaling weapons | Medium | High | High |
| Agility | Increases damage for agility-scaling weapons | High | Low | Medium |
| Vitality | Increases HP and defense | Medium | High | Medium |
| Resolve | Increases posture damage and ability power | Medium | Medium | Medium |
Weapon customization goes beyond simple upgrades, allowing you to slot gems or runes that add elemental damage, increase posture buildup, or grant special effects like lifesteal on kill. The customization system is where you can truly tailor a weapon to your playstyle, and it is worth experimenting with different combinations to find what feels best. Because the game is a standalone soulslike by Cold Symmetry, the customization depth is comparable to the original Mortal Shell but with significantly more options.
Upgrade Priority and Resource Management
When resources are limited, prioritize upgrading a single weapon rather than spreading upgrades across multiple tools. The scaling bonuses from upgrades compound with your stats, so a fully upgraded weapon will outperform two partially upgraded ones in almost every situation. Community data suggests that players who focus their upgrades on one primary weapon and one sidearm have a significantly easier time in the late-game dungeons.
Weapon Showcase and Hidden Gems
The Mortal Shell II weapon showcase includes several unique weapons that do not fit neatly into the standard categories. These hidden tools often have custom move sets, special abilities, or unusual scaling that make them worth seeking out. Some of the most notable examples reported by players include a twin-blade weapon that sacrifices defense for an extremely aggressive combo chain, and a greatsword that converts a portion of your health into bonus damage.
These unique weapons are typically found in hidden areas, dropped by optional bosses, or earned through specific achievement requirements. If you want to track down every weapon in the game, our hidden weapons guide covers the locations and unlock conditions for the rarest tools. The exploration achievements guide also lists the specific dungeons and secret rooms where some of these weapons are hidden, so it is worth checking if you are a completionist.
| Unique Weapon | Category | How to Obtain | Special Effect |
|---|---|---|---|
| Twin Fangs | Dual Swords | Defeat the optional boss in the Sunken Chapel | Fastest attack chain in the game |
| Bloodreaver | Greataxe | Complete the "Blood Price" quest line | Converts HP to bonus damage |
| Stormcaller | War Hammer | Found in a hidden room in the Stormdrain | Adds lightning damage on charged hits |
| Whisperblade | Short Sword | Earned from the "Silent Killer" achievement | Silent attacks build extra posture |
These unique weapons often require specific Shell builds to use effectively, so it is worth planning your character around the weapon you want to pursue. For example, the Bloodreaver's health-to-damage conversion is much safer on Eredrim, whose high defense offsets the health cost, while the Twin Fangs benefit most from Tiel's agility-focused dodges.
How to Showcase Your Weapons
The game includes a photo mode and a weapon inspection system that lets you rotate your weapon and view its detailed stats. This is perfect for sharing your favorite loadouts with the community, and many players post their weapon showcase screenshots on the r/MortalShell subreddit. If you find a particularly effective combination, consider sharing it with the community to help other players discover new strategies.
Frequently Asked Questions
What is the best Mortal Shell II weapon type for beginners?
One-handed swords are the best starting point because their fast attack speed and forgiving recovery frames let you learn enemy patterns without being punished for every mistake. The Longsword offers a good balance of damage and reach, and it scales reasonably well with both strength and agility, making it viable for any Shell.
How does weapon scaling work in Mortal Shell II?
Each weapon has a scaling coefficient for strength, agility, vitality, and resolve, which determines how much bonus damage you get from your Shell's stats. Higher scaling means your stats contribute more to the final damage number, so you should match weapons to your Shell's strongest stats for maximum effectiveness.
Can I customize my weapons beyond upgrading them?
Yes, the weapon customization system lets you slot gems and runes that add elemental damage, increase posture buildup, or grant special effects like lifesteal. These modifications can dramatically change how a weapon performs, and you can swap them freely at any blacksmith without losing the gems.
Do ranged sidearms deal enough damage to be a primary weapon?
No, sidearms are designed as secondary tools for opening engagements, interrupting enemies, or finishing off fleeing targets. Their ammunition is limited and their damage is lower than melee weapons, so relying on them as a primary damage source will leave you struggling against tougher enemies.
Are hidden weapons significantly better than standard ones?
Hidden weapons aren’t universally stronger—they trade raw damage for niche utility. The Twin Fangs shred posture with the fastest chain, but a standard longsword out-hits them per swing. Choose based on your playstyle: speed for aggression, weight for trading blows.